One of the great jobs in the Man Cave is rigging, maintaining and working on our boats. We love working on tackle but there is something special about boat work. Whether it’s a new one like the 2012 Polar Kraft TX 165, the Ranger Z520 or even the old washtub, the Ranger Banshee 168, there is always something new to add or something to do on them to make them work more effectively.
All of us at Wired2Fish are detail oriented, love challenges and that carries over to our equipment. ‘Doing it right the first time” is not an option but rather a requirement to all of us. Installing new electronics, shallow water anchors, or our recent project, changing a 12 volt trolling motor to a 24 volt one takes careful planning. Just about every job is step by step procedure and neatness counts.
One of the challenges with most boats is batteries due to the weight and space they require. The new 2012 Polar Kraft comes equipped with two battery compartments that are of ample size, well vented and have easy access but they are on opposite sides of the boat. This boat was rigged with a 12 volt trolling motor and we are converting to a 24 volt system and different motor.
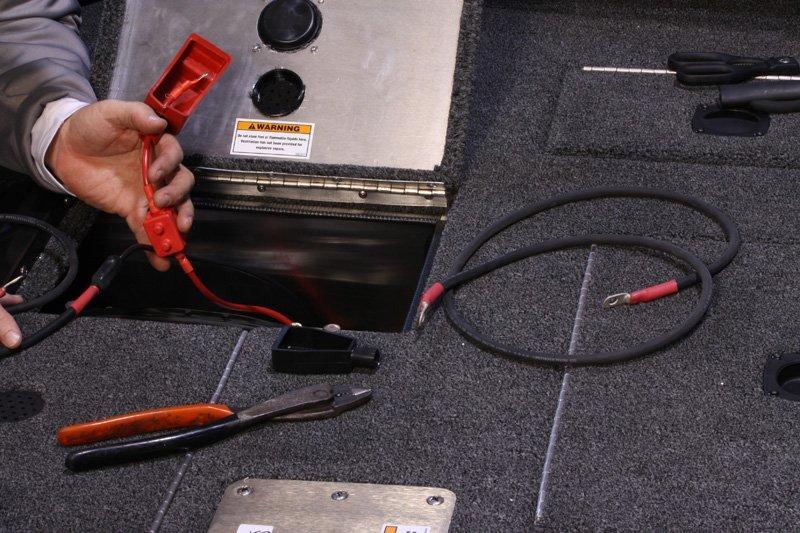
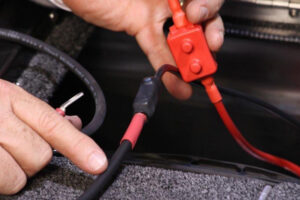
Polar Kraft supplies ample raceways for hoses and cables so changing from the 12 volt system to a 24 volt system was not difficult but did take a little engineering. The wiring provided is neatly run but because the Minn Kota Edge 45 is 12 volt both the positive and negative leads were run to the same compartment. Retrofitting this set-up meant that one of the wires had to be lengthened 4 feet, run through to the other battery compartment. A separate jumper was run to the exact same location. Note: Connecting two wires means utilizing a butt splice and shrink tubing. We use one that is a screw/locked model that holds the wires by screws and shrink tubing. It’s always good to grease this connection inside the butt splice to keep corrosion from occurring down the road as well.
Breaker and butt splice connection for pos and neg leads
Hooking up the batteries is the next step. Trolling motor lead will have positive wire run to the positive lead on battery one and the negative lead on battery two. These two wires run jointly to the front of the boat and terminate at the trolling motor plug. The jumper we ran earlier attaches from the negative lead on the battery where the trolling motor positive lead is attached and connects to the opposite battery on the positive post. Simply, this means that the positive lead from one battery is attached to the negative lead of the other battery and the remaining two leads go to the trolling motor.
It is good to securely tighten battery bolts now and again to make sure you get the most power possible. We change wing nuts or standard nuts at the battery to nylock style to prevent vibration from loosening once secure. We add a small amount of light oil to both battery posts and always use battery covers on both positive and negative posts, as well. Check with your state regulations on those requirements.


